How to Take Screenshots on Windows 10 and 11 – Different Ways
Screenshots have become a major source of sharing information over the internet, be it important messages, memories, or anything similar. Although, it’s pretty easier to do so on a mobile phone as you just need to press the volume up and power button to perform the function. But do you get stuck when trying to take screenshots on windows 10 and 11?
Well, worry not, as our guide on how to take screenshots on Windows 10 and 11 has got you covered. It includes several ways you can use to record and capture your PC’s screen in just a few seconds. And even edit them to customize and share them with others. So let’s not waste more of our time and get started.
Use the Print Screen Button
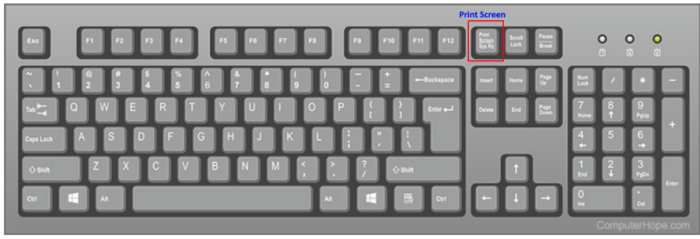
The easiest way to take a screenshot on Windows 10 and 11 is just one tap away. You can use the print screen button on your keyboard for quick operation. It can be found on the top rows of the keys, as also seen in the picture. Pressing the button will prompt the screenshot to get copied, which you can paste anywhere to proceed.
Two of the most common programs that fulfill this purpose include Microsoft Word and Paint. Moreover, you can even see the copied images in a second just by tapping the Windows key along with V for use Control + V in Paint or Paint.net. This will bring up the clipboard allowing you to view the screenshot you just took.
Use the In-built Snipping Tool
Both Windows 10 and 11 feature a snipping tool that allows capturing screenshots seamlessly. Although this tool isn’t as advanced in Windows 10, it got updated majorly in the next version i.e., 11. On Windows 11, you can even create custom screenshots through this tool. Here are the steps to use it:
Snipping Tool on Windows 10
Go through the below steps to better understand the process of using the snipping tool on Windows 10.
- Launch the Type Here to Search Menu found on your desktop tray.
- Search for the Snipping Tool by typing it over there.
- The tool’s window will open. Navigate to the New section you see in the top left corner.
- Clicking on it will activate the screenshot-taking function, and you can easily select the portion you want to capture.
- After the above step, the screenshot you have taken will appear in a new window.
- From there, you can easily edit or save it as per your requirements.
Snipping Tool on Windows 11
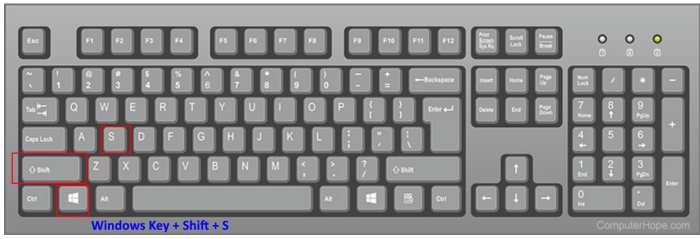
Here is a shortcut on how to use the snipping tool on Windows 11 and leverage its exceptional features.
- Simply press the Windows key on your keyboard along with that of shift and S.
- This prompt will dim the screen, and a bar of screenshot-related options will appear over there.
- You can then select from different styles to take the screenshot, These include rectangular, full window, freedom, or full-screen capturing of the image.
- The screenshot taken can then be used in two ways. You can either access it by pasting it into a program like Paint or simply check the screenshots folders to view and share it.
Note: Clicking the preview that appears on your screen’s bottom right corner will allow you to save and edit the image of your desktop you just captured.
Use the Power and Volume Up Button
This method only applies to Windows 10 desktops that too having a Microsoft Surface device.
Once you press the power and volume up buttons together, it will dim the screen, This means the system has successfully taken a screenshot of the entire screen. You can access it by visiting the Screenshots folder on your computer or laptop. However, the version of your Microsoft Surface device must be above 3 for this action. In case you own a lower version device, you can press the Windows key along with the volume down button for the same action.
5 Third-Party Application to Take Screenshots
To capture screenshots, you can even use many third-party applications. Most of these apps come as extensions, which you can download on your browser and access via the puzzle icon on the screen’s top left corner. Here are some of the top applications that are available for Windows:
1. Lightshot
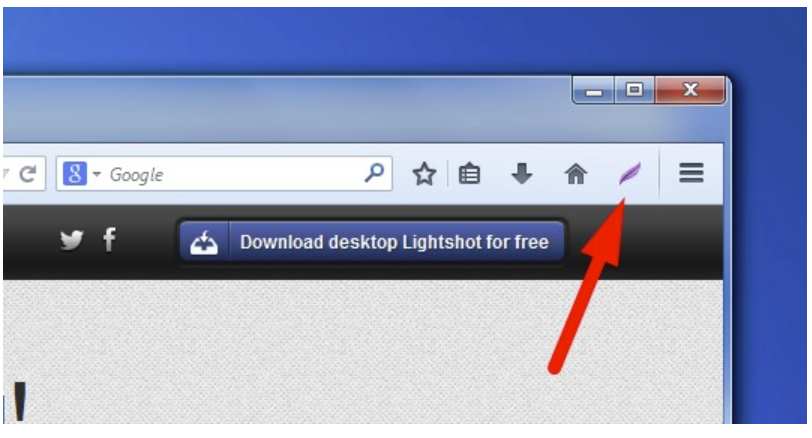
It is completely free and allows quick capturing of the screen along with its seamless sharing. You just need to search Lightshot on your browser and install its extension to start leveraging its functions.
2. Greenshot
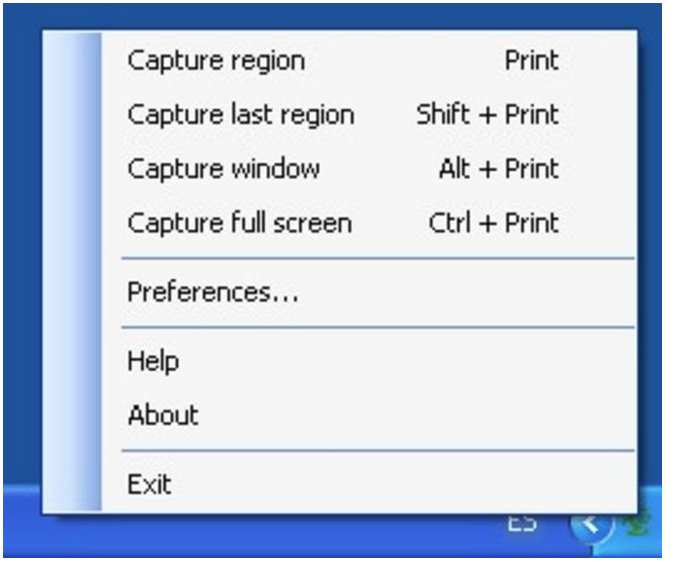
Greenshot is also another screenshot app that works on both Windows 10 and 11. It lets you edit and customize the screenshots as per your needs. Moreover, you can even capture the entire web page, even the region that comes after scrolling it below, using this app.
3. Screenrec
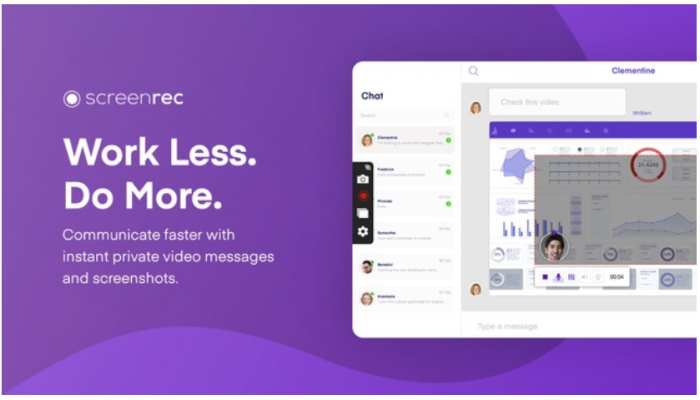
If you want to record screen videos or capture screenshots using a single tool, consider Screenrec. It is available at absolutely no cost and also lets you annotate the recordings and screen grabs. Moreover, you can even create a custom link to provide it to those whom you want to share the media with.
4. Screenpal

This app was formerly known as Screencast-o-matic and is known as one of the easiest screen recording and editing apps. Using this application, you can easily record the activities happening on your screen for a recorded session or even games.
It has a free version which demands creating an account on the website. Moreover, for advanced features, you can always upgrade to a premium account that costs just $4 every month.
5. Snagit
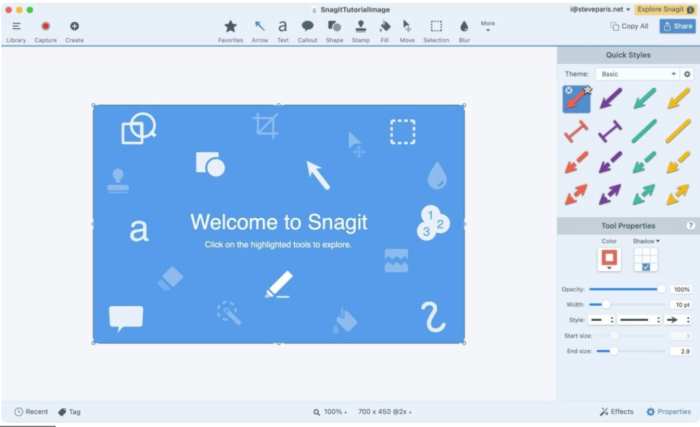
Last but not least, we have Snagit, a paid tool that works seamlessly on both Mac and Windows 10 and 11. However, it does come with a free trial that you can leverage for a month to decide whether the app is worth your money or not, especially when there are many free options available.
The premium version can cost you around $50 which is definitely a bit hefty. But its features, like tools for creating GIFs through screen recording or taking full page captures, may trade off the downside of higher rates.
Use the Game Bar
Before we dig into how to use this method of screenshotting, let’s first understand what a game bar is. It is basically an overlay that you can easily utilize with Windows apps and games for this particular purpose. The best part is that it comes in-built so there are no requirements for any additional installation. Here are the steps you need to follow:
- Tap the Windows key and G together.
- The prompt will open up an overlay menu, navigate to the Capture menu and select the looks like a camera. This can be seen in the top menu.
- You can also activate the microphone to record the voice. This function is especially helpful for gamers.
- Once recorded, you can find the screenshots and videos in PNG and MP4 format in the Videos folder under the Captures section. Launch File Explorer to access it.
- If not there, then you can visit the Game Bar’s gallery to find the pictures and videos you captured using this functionality.
If it does not work, then you need to enable the Game Bar first, which can be done by pressing the Windows key with I. This prompt will open up the settings application. You then need to visit the Gaming section and navigate to Xbox and the Game Bar to activate it. It even lets you record the screen as you chat with your friends while playing games.
Conclusion
In conclusion, capturing screenshots on both Windows 10 and Windows 11 is a simple and straightforward process. By following a few easy methods, you can quickly save images of your screen for various purposes, be it gaming or recorded sessions to post online. We have shared a number of such ways in this article that will help you attempt the process seamlessly. So what’s the wait for? Follow any of the outlined ways and save your current screen as an image for later use.

